

Materials Needed
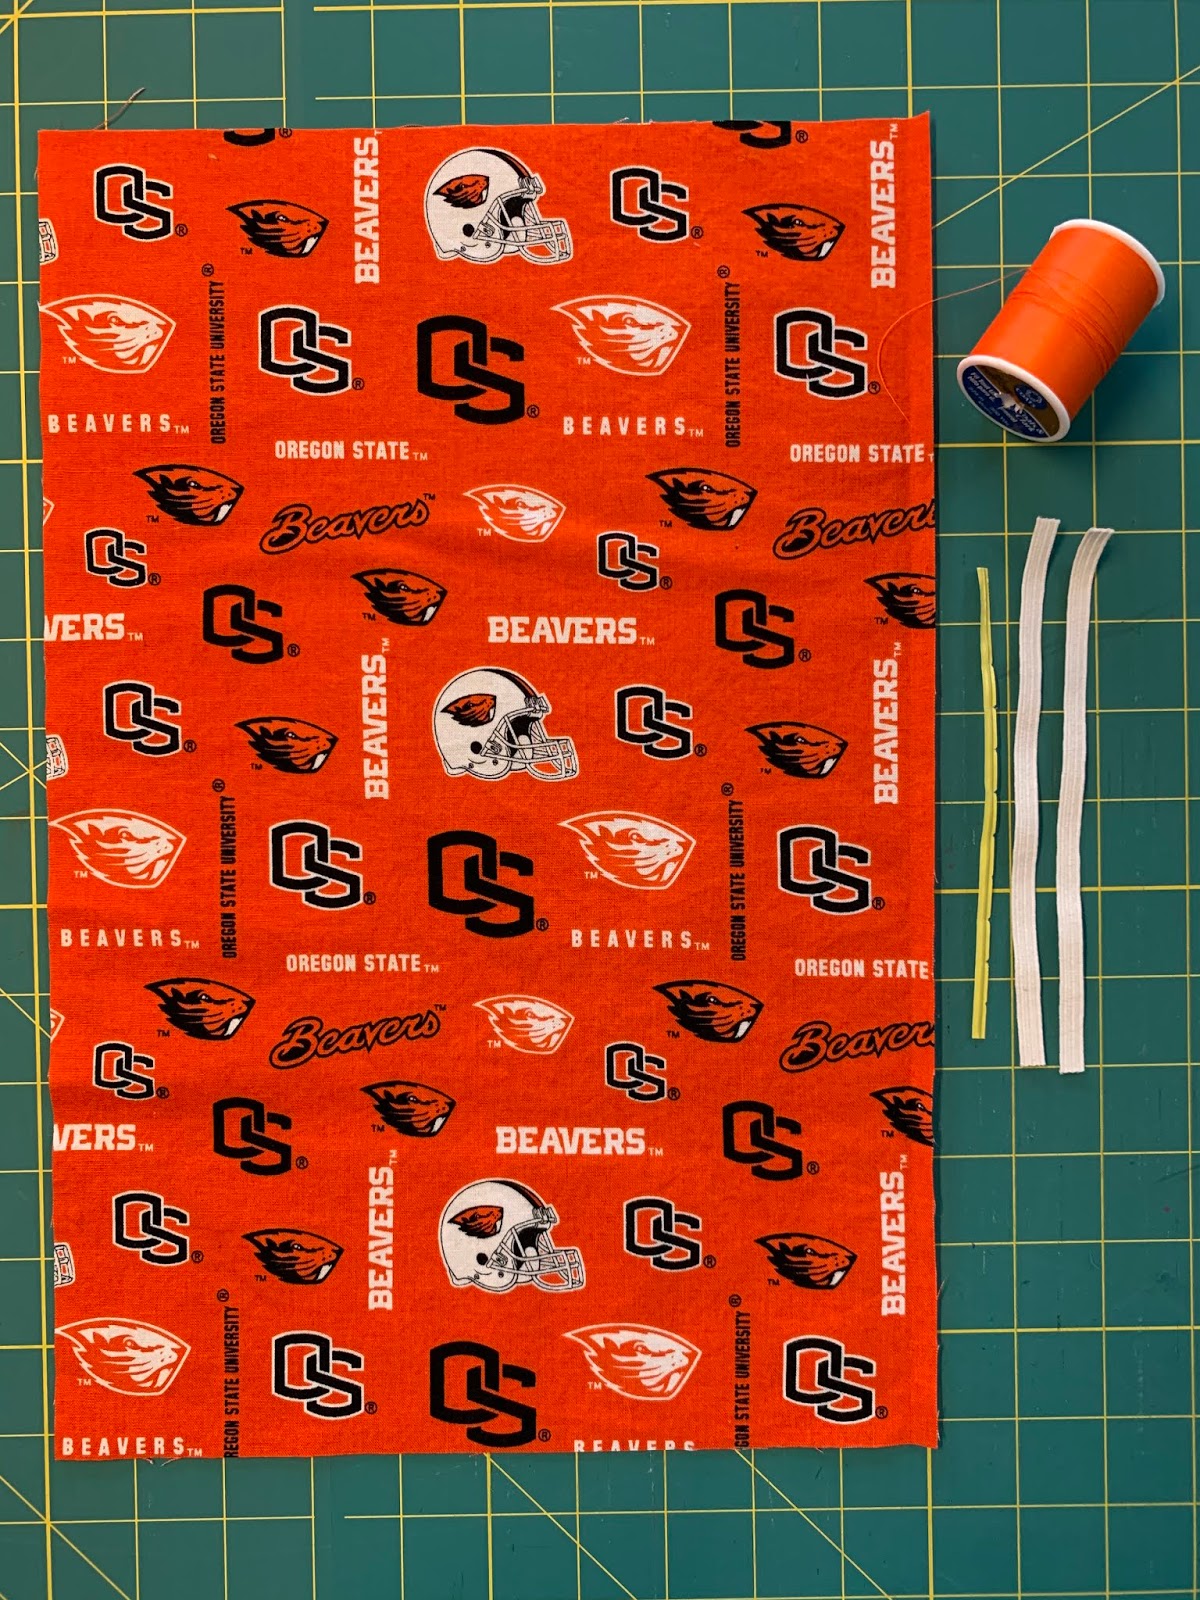
Fabric- 1 piece cut 10" X 15"
Elastic- 2 pieces cut 6 1/4"
Twist wire-1 piece approx. 4-5" long (I am using the twist wires that came with plastic sack) OR a pipe cleaner cut to fit
Thread
Sewing Machine
Marking Tools-chalk, Frixion Pens, fabric pencil markers, etc.....
Filter material/non-woven
Fold fabric in half right sides together (RST) matching short 10"ends together
Measure and mark 2 1/2 " in on each top edge.


Press center seam open.

Fold under edge of seam and press, then edge stitch to finish edges being careful not to catch the underneath layer.
If you prefer you can simply serge the edges before sewing, or after. I like this finished edge because it will make the opening more durable as it will be utilized often from changing out the filters.


Place the seam in the center of the tube. To find the exact center, fold tube in half at the newly made seam. Flatten out gently. On the opposite end where the fold it, place a pin on each side to designate the center of the front of the mask. Open up and match the seam to the pins, pin in place as shown.


Measure and mark each corner at 1 3/4". Draw a diagonal line matching the markings at each corner.

EASY BUTTON
 |
| cut a 1 3/4" square out of poster board and cut in half diagonally |
 |
| Place in corners |
 |
| mark corners-no measuring-easy 😀👍 |

Trim off corners leaving about a 1/4" edge.

Turn right side out and press.
 |
| This is the inside of the mask where the filter can be inserted. |
If your fabric is directional, be sure to check the front of your mask before placing your twist wire nose piece. Flip your mask over, decide what is the top and once determined, slip in the twist wire in along the top edge of the mask. You can secure it with pins to make sure it doesn't slip out of position before and while sewing.


Top stitch 1/4" from edge on all STITCHED seams.

Lay mask on pressing surface, outside down, pocket up facing you.
You are going to fold the top and bottom sewn edges into the center overlapping slightly and press.
Use the top-stitching around the filter pocket opening as your guide. Press.


The next part is a little tricky. If you aren't sure what or how to do it, please leave a comment and I will try and explain better.
You will be folding the corner of the folded edge down

to the folded edge, creating a 90 degree angle.

Below, notice how it made a 90 degree corner

Clip or pin in place.
You will notice that as you are folding the corners down and securing that the mask doesn't lay flat, the ends curve up, that is normal.

These folds are what helps the mask contour around the chin and nose.

To finish the ends, turn a 3/8"-1/2" seam towards the 90 degree corner you just created, then turn again covering/catching the fold. Clip or Pin in Place. See photos.


Tuck ends of elastic at both ends and edge stitch all the way around. Go over the ends a couple times to firmly secure the elastic in place.


And you are done!!!
Well Done!!!


Ideas for the filter fabric: Hepa vacuum bags were tested and shown to be one of the better materials to use as a filter. Not as good as the N95 or surgical mask.
Other ideas for elastic? Hair elastic!!! I have a few black ones and when cut they are about 6 1/4" long!! So they might work. I will be trying them out.
ALSO
I will be experimenting with ties for this pattern. Elastic is getting hard to find so making ties out of bias or out of coordinating fabric can work too. Just need it long enough to make a bow in the back to make undoing it easier for the wearer.
Once I get a few made with ties, I will update this post showing how I did it. If you have ideas, please share here!!!
And, if you make any masks from this tutorial, email them to me and I will post them on my blog!!!
Happy Sewing!!!
Martha
Disclaimer: These face masks do not replace the N95 or Surgical Masks
I did not design this pattern, it is not for sale.
I did not design this pattern, it is not for sale.
Thanks Martha!
ReplyDeleteYou are very welcome!!! This mask does take a little longer to make than several patterns that are out there, but it fits so nicely and has the addition of being able to add the filter!!!
DeleteI've just made seven of these, and they came out wonderfully. Thank you for your photos.
ReplyDeleteYou are very welcome, I really have fun making these tutorials and love that they can help someone with their own projects!!!
DeleteOne of my friends is now mask making and has the BEST elastic replacement!! He cuts a long strip of 3/4” wide spandex, rolls it three times to make a 1/4” wide strip and zigzag stitches it down the length for stretch. Try it, it is fantastic, and sooo comfy!!
ReplyDeleteThat is very clever!!!!
DeleteThanks, this is a great post, easy to follow! I've made a couple hundred pleated masks and 20 fitted masks, but wanted to try another pattern for fit and comfort. Question: does this more or less hold shape after washing, or does it need ironing? My pleated ones look better if I iron, but who wants the extra work. Thanks!
ReplyDeleteHi Raina, to be honest, I haven't washed this one!!! I actually didn't get to keep any of these fitted masks because there were so many requests for them. I am going to make several more of these and will keep one for myself and wash it so I have better information to offer. Thank you for the visit and I think it's awesome that you are helping out with the mask making!!! Take care!!
DeleteThanks awfully, much easier than youtube!
ReplyDeleteThank you Jo!!. I have a hard time following the YouTube videos because you have to watch over and over and over again!!!
DeleteDo you have measurements for kids size? Thank you!
ReplyDeleteI haven't done one for a child in this design, I have done the other two, the pleated and the fitted face masks. I may give it a try and if I do I will email you the sizes I come up with.
DeleteWhen clicking on the link to watch the video, YouTube said video was not available. Could you provide another link so I could watch it? Thank you.
ReplyDeleteHi there!!! Thank you for letting me know. I have looked and looked for the video and it is no longer available and I have no idea why. If you are having trouble with some part of the construction let me know and I can certainly help you through it.
DeleteHi I love this mask. Has this pattern been posted on You Tube? Videos are so much easier for me to follow. Thank you.
ReplyDeleteHi there!!! Thank you for the question. Yes, this pattern was on You Tube but it was taken down for some reason. I haven't done a video on it but may try to do one. Happy Sewing!!!!
DeleteThank you for sharing this pattern with written directions and photos. I made one and the directions were easy to follow.
ReplyDeleteThank you Maureen!!! I cannot believe this was over a year ago, wowza!!! I made several other designs after this one too. I think in the end I made over 400 masks and gave most away. A few people made me take thier money, but I truly wasn't charging for them. It was more fun to just give them away. Take care and I hope you and your family have avoided getting covid.
Delete