Sunday, June 29, 2014

Bolts to Blocks-A new quilt shop in Albany Oregon

Meet the owners of Bolts to Blocks, Pete and Barb Schoonover!!! Really nice people and very welcoming!!! (You can check out their website by clicking on their names.)
Yesterday I had the opportunity to go to Albany with my niece Sharon who is visiting from Mesa, her daughter Madison and her new OSU roomie, Claire. We stopped in to check the new quilt shop out and I am SO GLAD we did!!! It is a fabulous shop with lots of awesome fabrics!!!

Bright and beautiful would be my description of their shop!! :^)
Notice the fabric in front of Pete, new fabs for my stash, YES!!!!!
Sharon on the left, Madison and Claire. And just look at all of that yummy fabric!!!!
This is where you will find them.
 AND
This is my design for the Modern Quilt Guilds Michael Miller challenge due in July. Yes, I am behind as usual!!
These are the fabrics that The Modern Quilt Guild gave us to work with.
And this is the additional fabric I am adding after visiting Bolt to Blocks!!! It is also a Michael Miller fabric. Isn't it GORGEOUS!!!?????
These are my new additions purchased from them. Bolts to Blocks has tons of fat quarters and lots of solids. I LOVE SOLIDS!!!!!!!
 Back to the store:
They also offer many many many classes-so check them out!!!


Happy Quilting friends, Take Care, keep those brains sharp, and if you are in the vicinity of Albany Oregon, go check out Bolt to Blocks, you will be very glad you did!!! Martha :^)

Thursday, June 19, 2014

Disappearing 9-Patch-How to

Here's the finished quilt that I made for our great-nephew!!
I made 9-patch blocks using 3" squares as above
Cut them in half both ways to make 4 units
Then switched two units between the blocks
I then had to decide on the design layout, this or
this? I decided on the top one
blocks all pieced together
added a small border
and a larger outer border
I quilted a very simple meandering loopy design on my Juki and used blue thread for the top. This is the back of the quilt which is a beautiful golden brown flannel.
I decided to do a double magic binding that makes it look like you put a piping edge in . I like it a lot because you can completely machine sew the binding on which saves a lot of time!!
Sewing the two strips together, notice one is larger.
Once sewn, you fold it in half and press well
Sew the binding to the back of the quilt
I use my walking foot to do this part.
Then stitch the binding to the front of the quilt, stitching in the ditch
Doesn't look to bad!!
Even the corners look good!! And, it is reallly strong to put up with a little person for years!!!
And the finished quilt, legs and all!!!


Take Care, Happy Quilting, and keep those seam rippers sharp!! Martha

Saturday, June 14, 2014

Dragonfly Postcards and how I made them!


These were a lot of fun to make and I can finally blog about them. The rainbow dragonfly made it's way to South Africa safely and the green one now resides in Ferndale Washington!!!

This is a mini scrap buster!! I save a lot of little scraps and I decided to use some up.
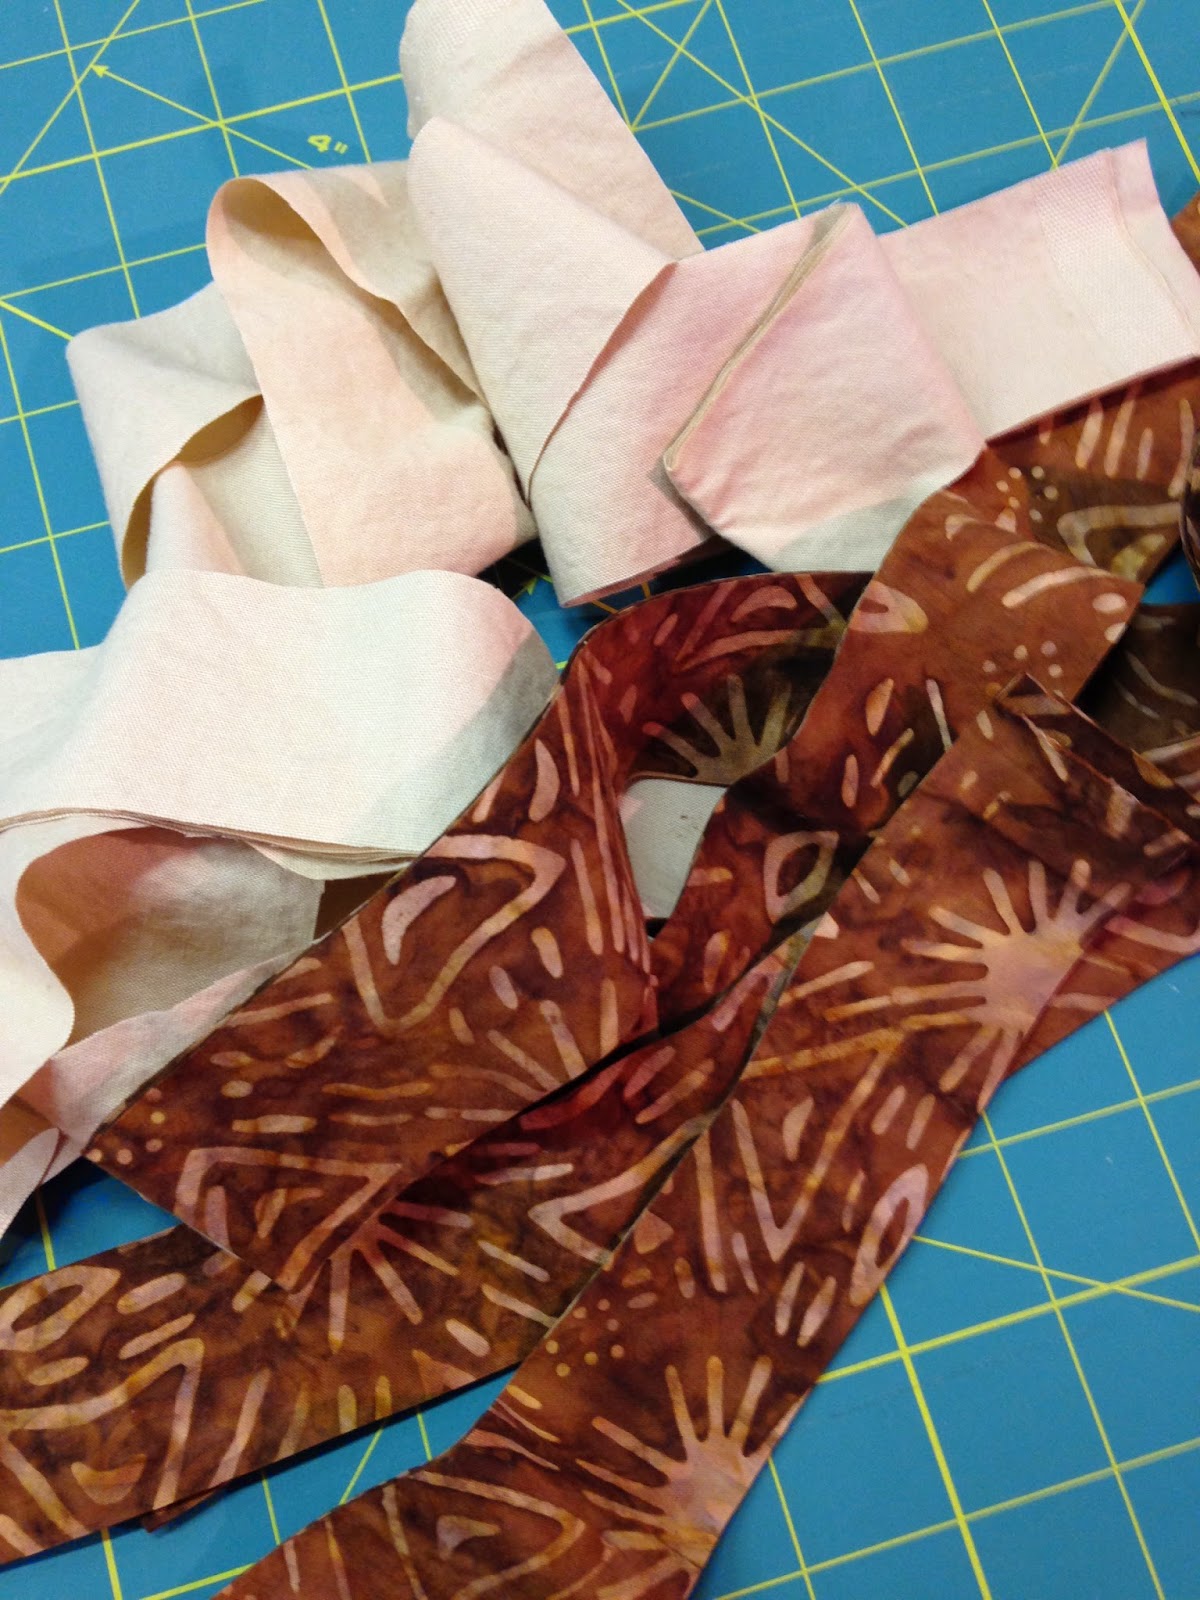

My leftover scraps
and a left over piece of white fabric 
I simply layed the little scraps on the edge and sewed one straight seam
pressed the seam
then cut them into strips
all cut and ready to lay out for assembly
this looks good-time to sew!
free motion quilting
all quilted, now to decide postcard placement
this looks good
this looks better!!
draw the outline of the postcard first, then stitch

Now to design my little dragonflys and machine applique onto the surface of this little mini quilt!!
working on the wings using freezer paper
oh my goodness, so many choices!!!!!! what to do, what to do???!!!
blue dragonfly done
the fabric on the right for the wings, and initially I was going to use that lime green for the body, but changed my mind
the darker green worked much better!!
I used YLI 100wt silk to machine applique the dragonfly to the surface.
done
so now to layer the quilt with all the necessary parts for the postcard. there are 7 layers total, the quilt top, batting and backing, then two layers of heat n bond, pellon, and the back of the postcard.
fuse the heat n bond to the back of the quilt, gently so that you do not squash the quilting
fuse the pellon to that
another layer of heat n bond onto the pellon
and finally the back of the post card making sure all layers are well fused. after that, trim to the specific size which is
4" X 6"
after you are done trimming, satin stitch the edges. I do a simple zigzag stitch at first, then go around the postcard twice with a good satin stitch. you can see that the green dragonfly was done with a varigated thread.
That was FUN!!! Happy Quilting friends, take care and keep those needles sharp and changed after every 8 hours of stitching madness!!! :^) Martha