QUILTED POSTCARD

So I will let you in on how I make my quilted postcards, step by step, from start to finish, so you can make your own!!!
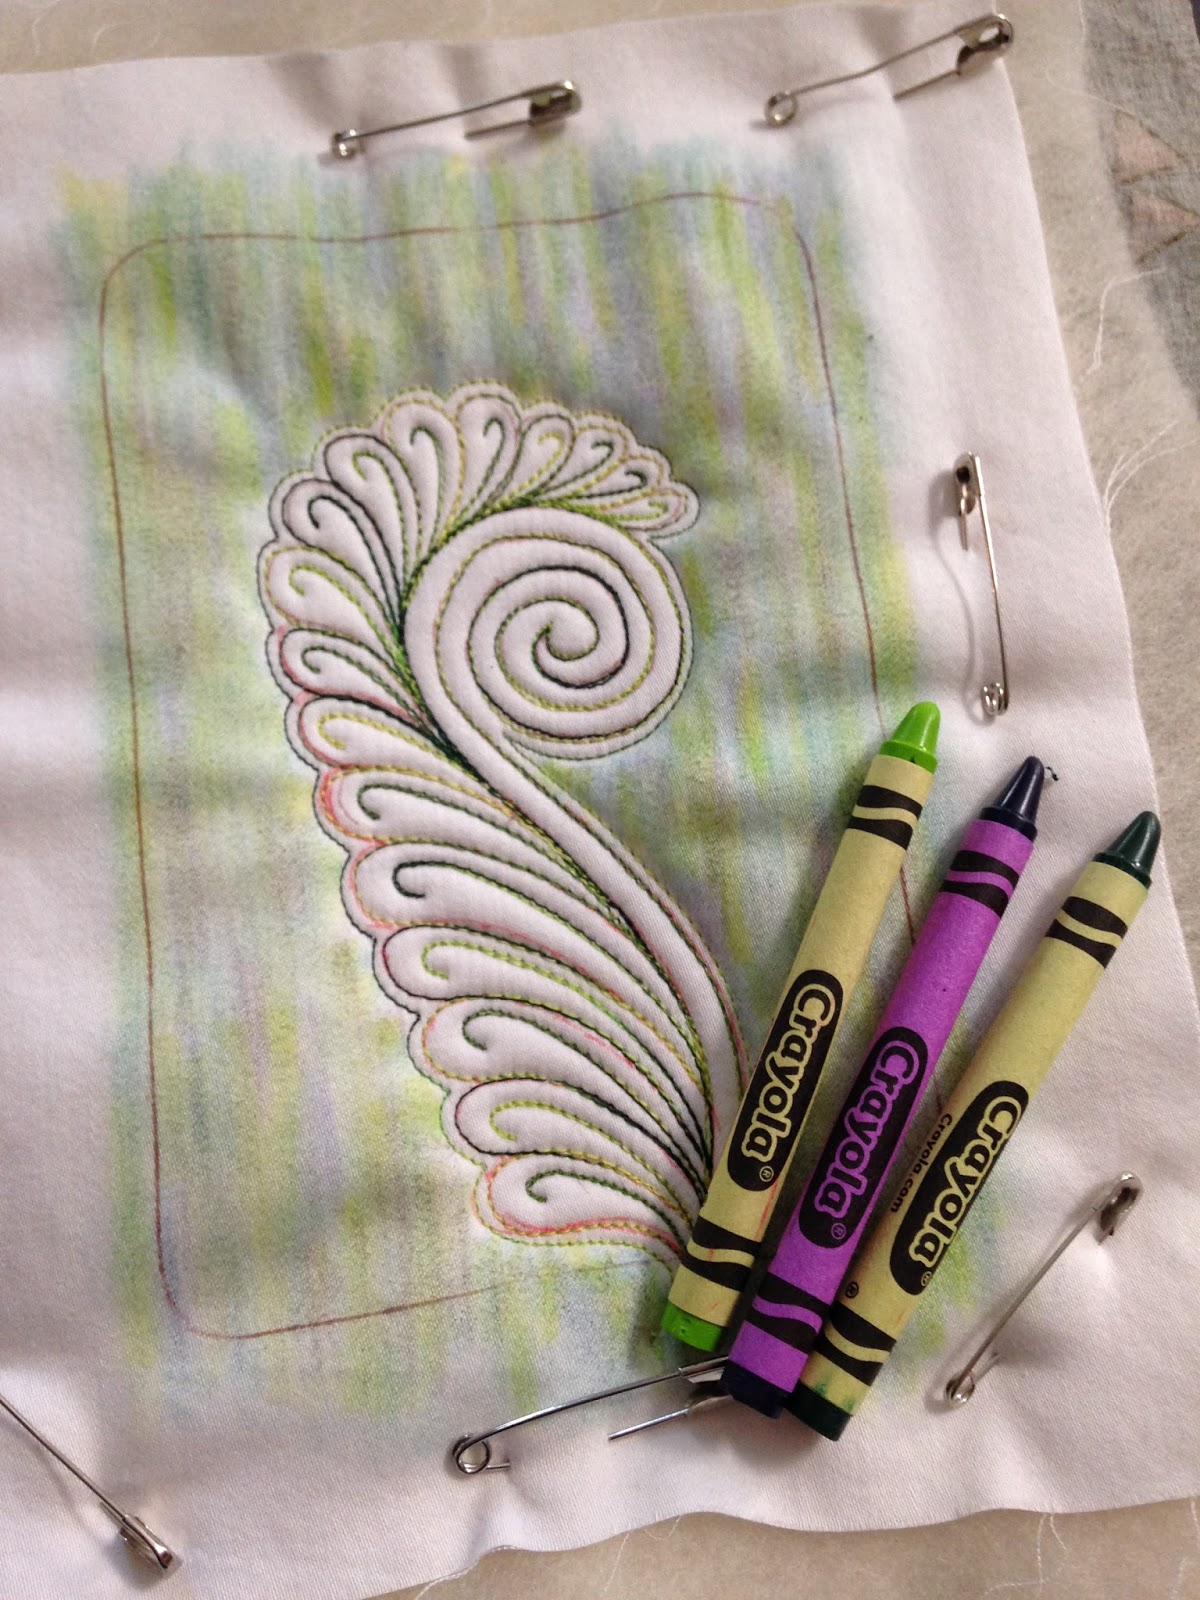
My postcards will often begin with a sketching. I have a plastic template that is exactly the finished size of the postcard. I draw that on my paper and also on the fabric I will be quilting. This gives me the boundaries for the design. Once I have a design, I draw it out on my chosen fabric.

I tape my backing fabric to the table and layer the quilt with cotton, then wool. My favorite batting is by Quilters Dream Batting.

Time to start quilting!!! I pull my bobbin thread to the top, take a few locking stitches and begin. I always stitch my feather designs upside down, but I do turn my piece depending on which way I am heading!!!


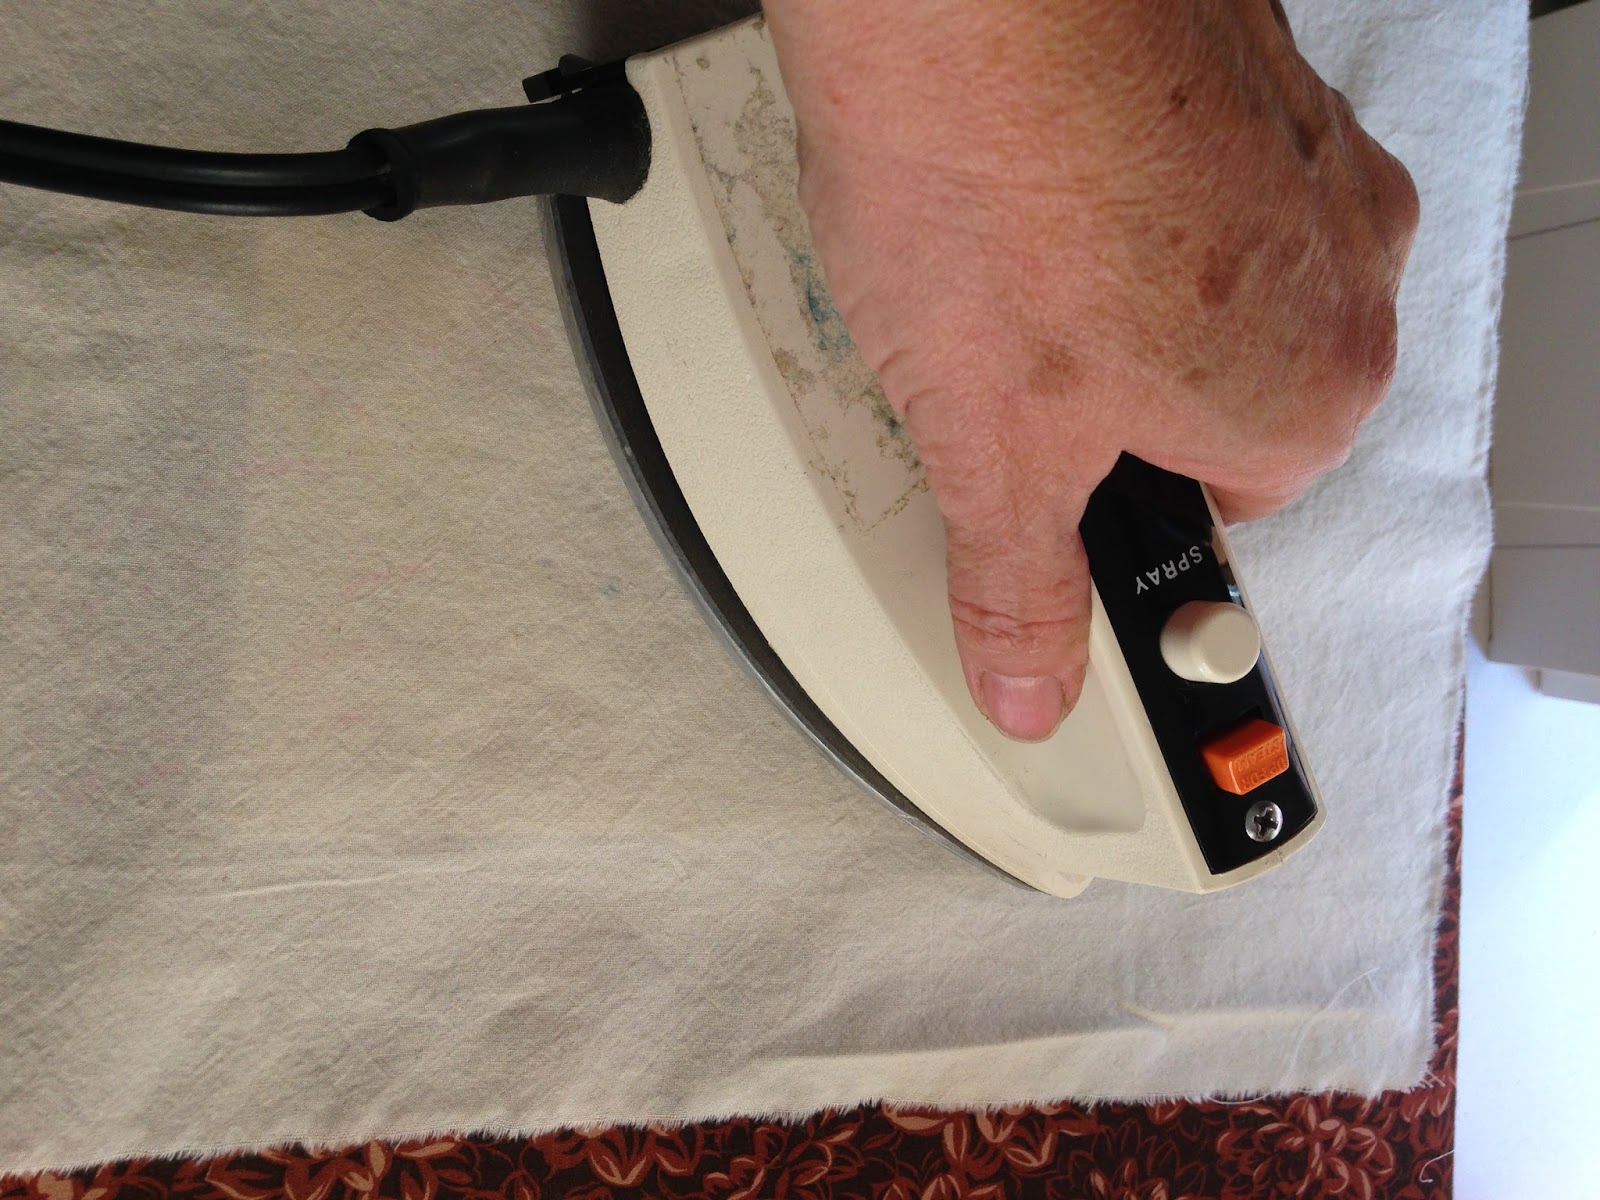
I will often use Crayola crayons to color the background or feathers. Once colored, I will heat set the dye.
Once the background is colored, I can do the background quilting.

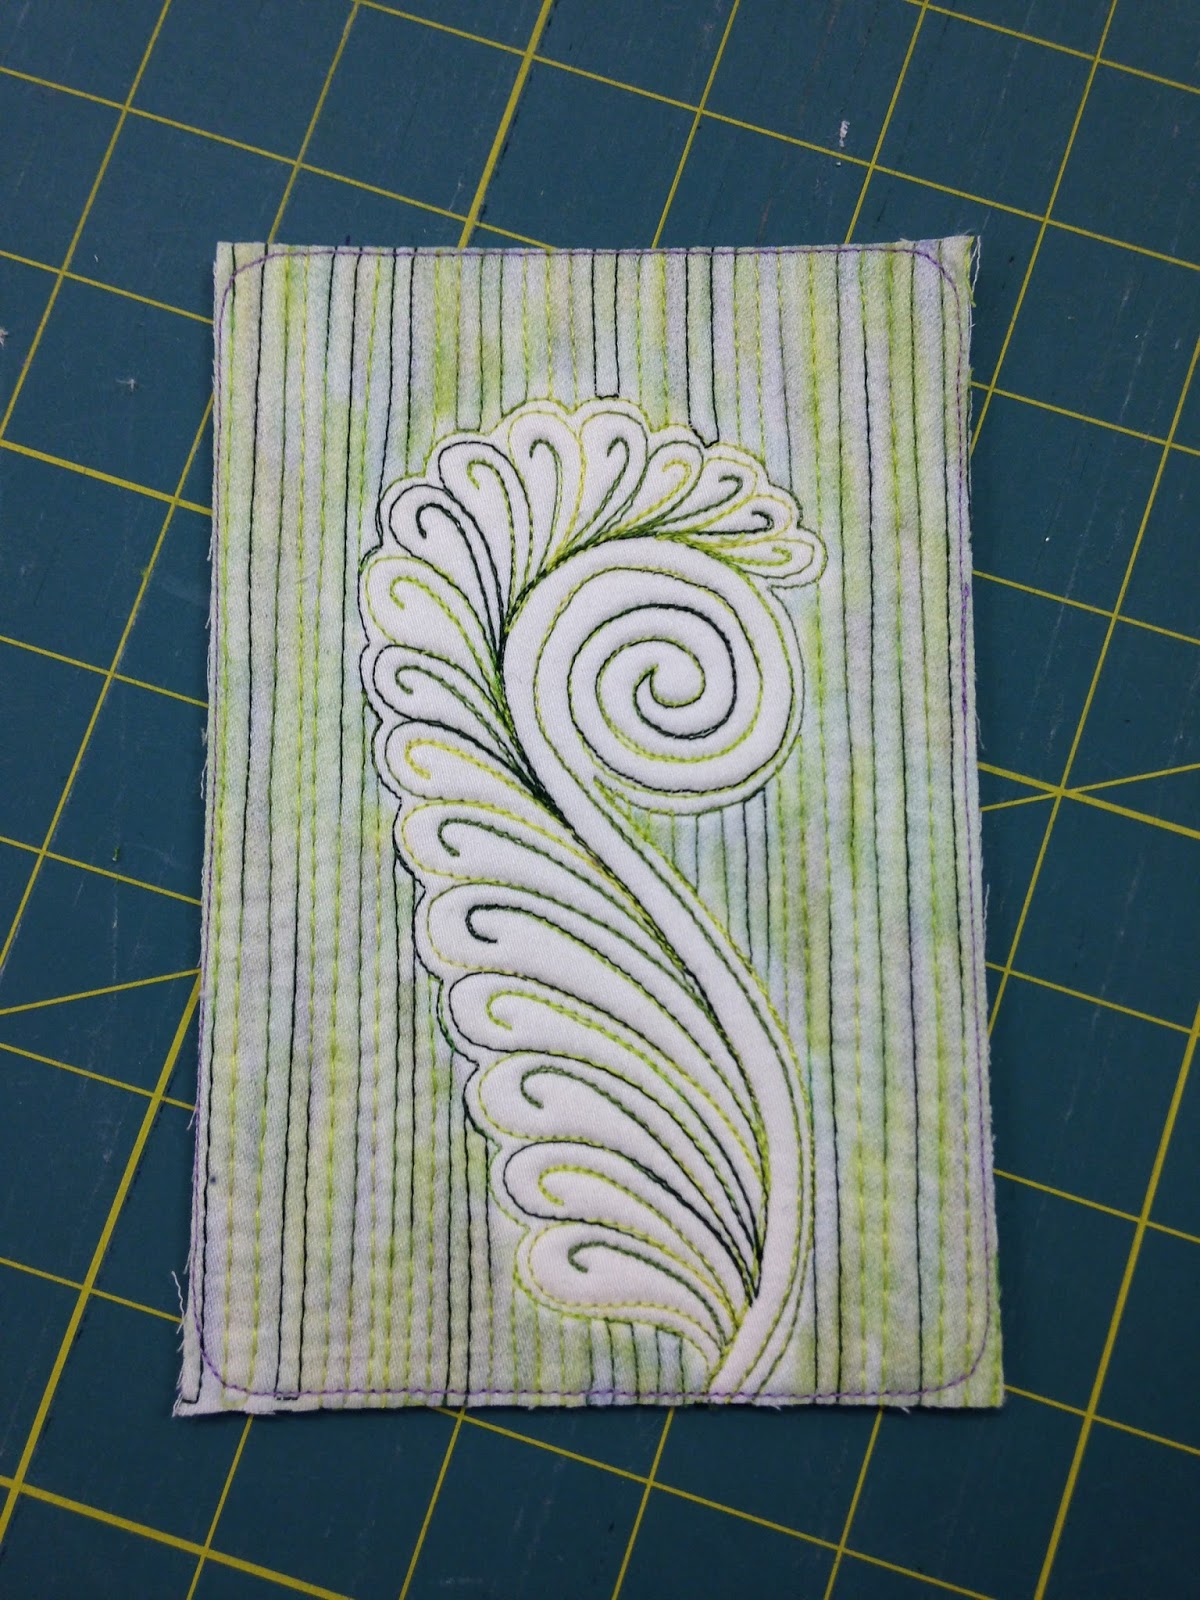
Now to prepare the piece for postcard status. It needs to be exactly 4" X 6" and stiff enough to hold up to mail manipulation. I retrace the outer edges using the postcard template and a Frixion pen.


Then I straight stitch, usually a small stitch, a couple thread widths inside the drawn line. This prevents my quilting stitches from coming undone when I go to trim the piece. I also do not want to trim off this protective border, which is why I stitch inside the line.

Now for the layering process.
I use 2 pieces of Heat N Bond Lite for my fusible material. They measure 4 1/4" X 6 1/4". There is fusible fleece available, but this method has worked for me!!

I also use one piece of Pellon-Peltex 70 Ultra Firm Stablizer which measures 4 1/2" X 6 1/2".

On the back of the postcard, I fused one of the Heat N Bond pieces. You will see your stitched outline and want the fusible to be centered over. This also helps hold your stitching in place after the piece has been trimmed.
Remove the paper backing.


Trim about 1/4" away from your drawn edge with a pair of sewing scissors.

All trimmed and ready for the next step.

Layer the Peltex/Pellon on to the fusible Press gently using a pressure sheet. Very important to not use pressure as you will squash your quilting. Forever flat!!!!!

Pressing using a piece of muslin as my pressure sheet.
Now place the second piece of Heat N Bond on top of the Pellon/Peltex and press gently.


Remove the paper. The shiny surface is the fusible/glue surface.

Layer your backing over the fusible surface and press gently. I try to use a light fabric because I will be writing the address and a note onto the back and it needs to be easily readable!!!!

All layered and ready to trim!! We are getting close to a finished product!!! YAY!!!

Using a good ruler and rotary cutter, I find my previous stitched outline and cut just outside that line. I usually do the two long edges first,

Then I cut the shorter edges, making sure that my lower and upper edges line up straight.

I use a sharp pair of scissors to cut the curved corners.
The curved corners enable you to have a smooth outer edge. Using a walking foot, I first sew a wide zigzag stitch around the entire piece. This holds everything together and prepares it for the last stage.


Then I sew a wide satin stitch, three to four times around the postcard. This gives a very sturdy edge and covers up your layers nicely.


Lastly, I sew a straight stitch in the ditch, between the border and the postcard. You can change your thread for some contrast or use the same thread. I think it gives a nice finishing touch!!

And, you now have a lovely postcard that can be mailed.

I stamp the back of the postcard with this postcard stamp I found at Hobby Lobby. I love it!! It sure makes it easier on me. You can also hand write the info on the back!!!

I mail my postcards in these little clear envelopes I found on Etsy. They protect the postcard from getting smudges. You do have to pay more than postcard rate though because it is now in an envelope. No worried, I would rather have it arrive clean!!! This is where I found the clear envelopes.
You can also find them at a place called Uline..

Well, that's it for today. I will have to re-read this to make sure there are no errors. If you have questions about my process, don't be afraid to ask!!! I enjoy sharing this with you :^)
Take Care, Happy Quilting and keep those scissors sharp!!! Martha
Thank you for sharing such great information. Beautiful job with the postcard too!
ReplyDeleteThank you!!! I had fun making the postcard and the tutorial. So fun being able to share the how-to's with everyone!!!
Deletesuch a detailed tutorial and so easy to understand, thank you, must get my act together as I am still struggling with the actual quilting of a piece of work
ReplyDeleteThank you Margaret! I was hoping this tutorial would help others with the making of these little postcards as they are fun to do and a quick little project!!
DeleteWhat a fabulous tutorial!
ReplyDeleteI love all of your work, your machine quilting is pure ART!
Thank You Doreen!! It sure is fun to share! My next blog post will be about a class I taught for our guild, learning how to quilt a feather, I just need time to get it done!!
DeleteWhat a great tutorial and marvelous idea. I am pen pals with my nine year old granddaughter, this would be a fun project to mail her. Thanks for the idea.
ReplyDeleteYour blogging sister,
Connie :)
Thank You Connie!!! I think your granddaughter will be thrilled to get a quilted postcard from you, how exciting!!! I'm so glad you enjoyed this tutorial, I sure had fun writing it!! Take Care!!!
Deletehave come back to read this again thanks Martha
ReplyDeleteThanks for the accurate details of the process. I have been wanting to do this for a long time and have the materials ready. No more excuses. !!!
ReplyDeleteSo glad I came upon your post. Thank you, thank you.
ReplyDeleteYou are very welcome!!! I enjoy making these little mini quilts to mail, so fun!!!
Delete