I am not sure if I ever mentioned this, but I am the current president of our local quilt guild, The Santiam Scrappers. We meet once a month on the first Tuesday evening for our regular meeting and program and the 4th Saturday for several hours for sewing comfort quilts, learning new quilting techniques and so on.
I volunteered to teach today and decided that we needed to learn Gyotaku-gee-oh-tah-koo-fish impressions. (I also brought fruit for printing, so the Frutaku is actually a made up name!!)

Not quite sure when gyotaku actually started, I have found references to the 1700's, but it did become more popular as an art form in the 1860's when the emperor noticed the prints and actually held special court to allow the fisherman an audience to show their gyotaku. Gyotaku started as a way for the fisherman to document their catch. They used ink and rice paper.
I thought it would be fun to do the same thing on fabric, so purchased some rubber replica's to use as models. My husband and I also caught a trout 1 1/2 years ago and I do use him as a model also!! He currently resides in our freezer.
So today there were 9 of us which include one members husband and one members daughter!! We all had fun!


I would have to say that we had a successful day. Everyone who came had fun and went home with a new creation.
I bought a whole fish from the grocery store yesterday for around $3.00, a Talapia, and will be doing gyotaku with it tomorrow. You never know how people are going to react to a dead fish, so the rubber ones were best for today. Tomorrow is another story, just me and my fish!!
Happy Quilting everyone and keep those needles sharp!! Martha

I volunteered to teach today and decided that we needed to learn Gyotaku-gee-oh-tah-koo-fish impressions. (I also brought fruit for printing, so the Frutaku is actually a made up name!!)
 |
| Some fish and fruit projects of mine above and below. The fish on the yellow fabric were made with our trout. |

 |
| My fish made from a rubber replica!! |
I thought it would be fun to do the same thing on fabric, so purchased some rubber replica's to use as models. My husband and I also caught a trout 1 1/2 years ago and I do use him as a model also!! He currently resides in our freezer.
So today there were 9 of us which include one members husband and one members daughter!! We all had fun!

 | |||
| Applying paint to the rubber fish!! |

 | ||
| Working hard and showing new block!! |
 |
| Projects drying |
 |
| A row of Garibaldi orange fish! |
 |
| Lovely pears! |
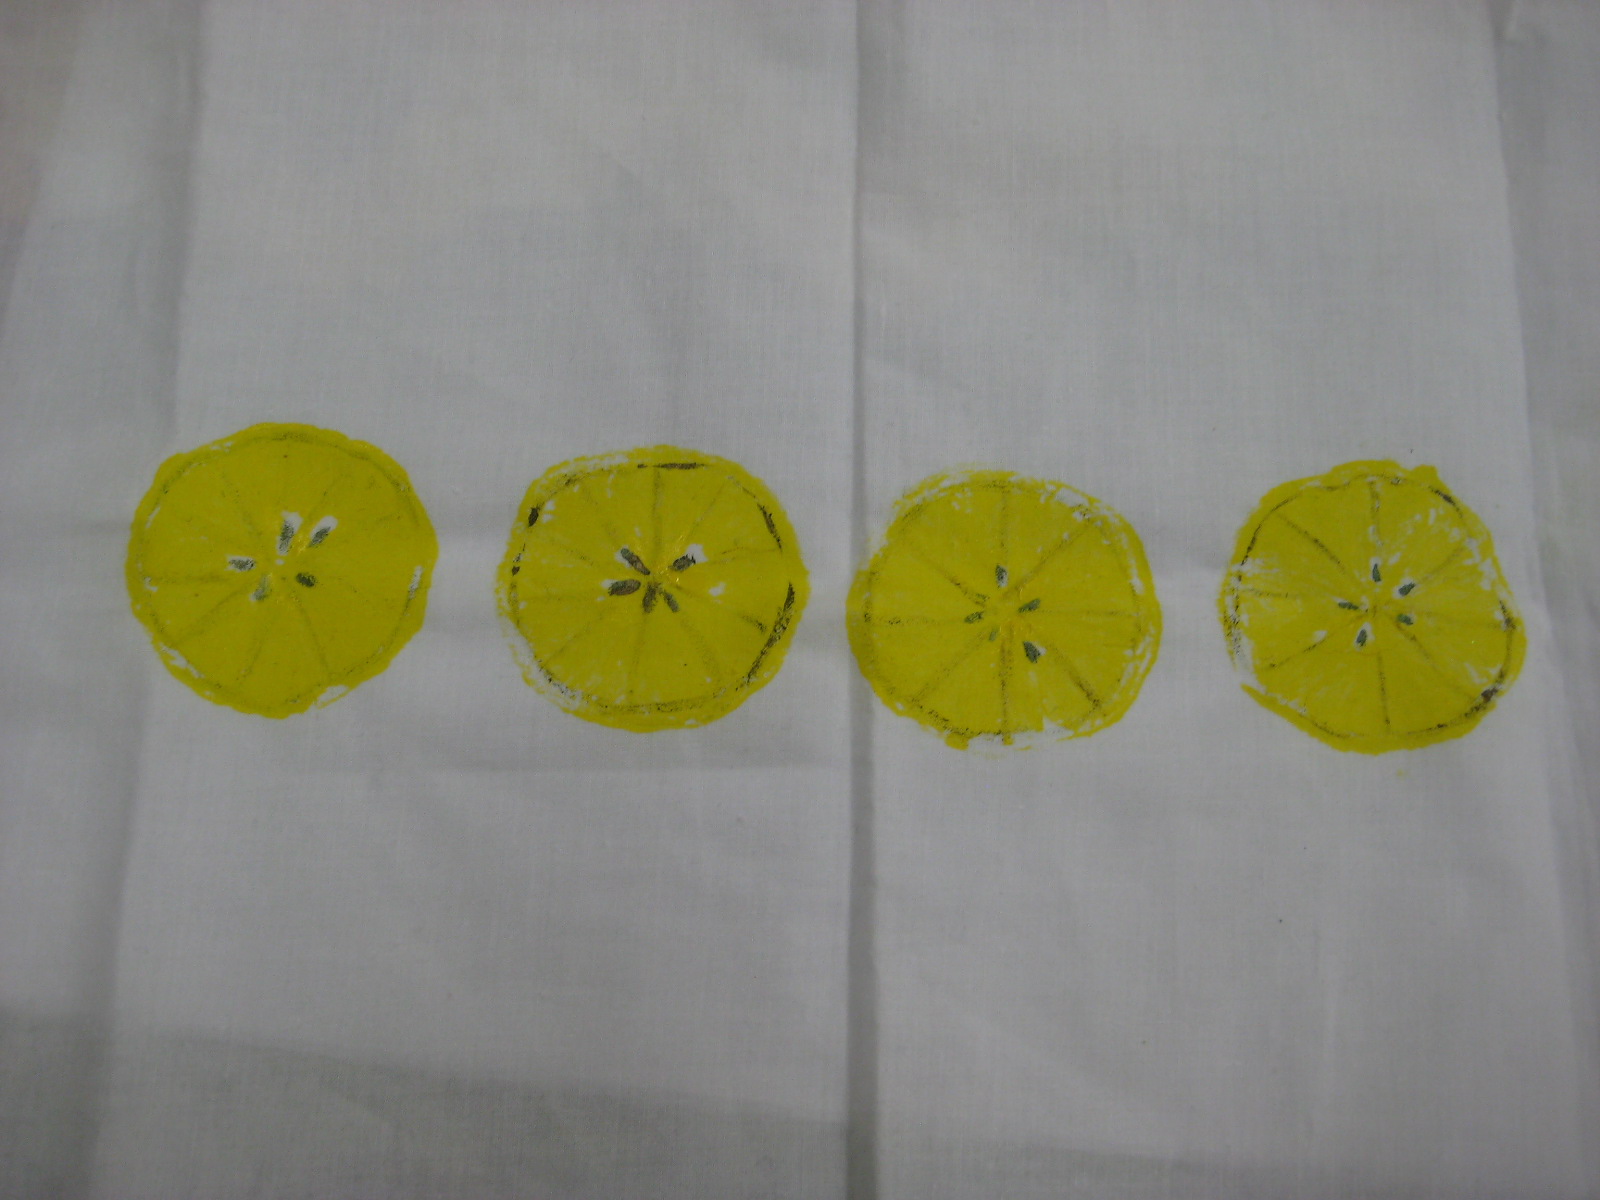 |
| Lemons |
 |
| Projects drying |
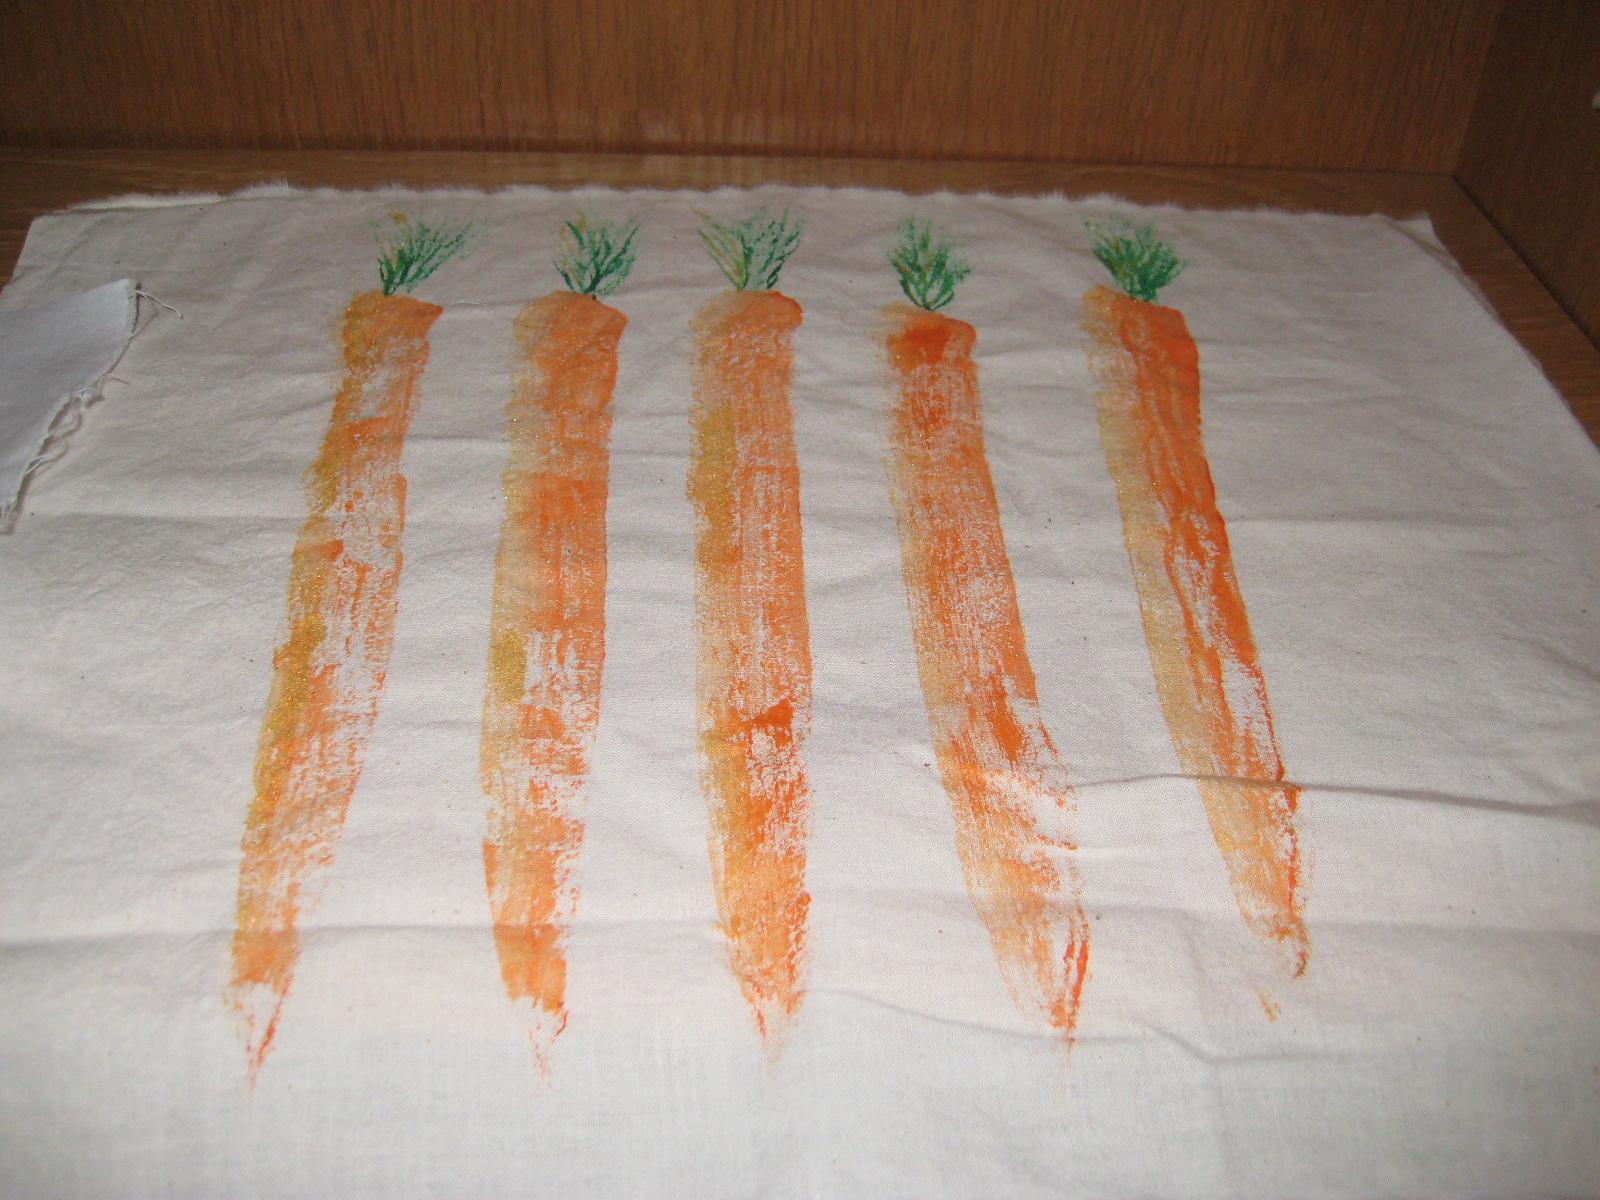 |
| We worked with carrots too!! |
 |
| A very happy, cute girl with a very cute fish!!! |
 |
| Swimming over rocks (potatoes used as stamps) |
 |
| Love the bubbles! |
 |
| My Peas and Carrots!! |
 |
| Mom and daughter with their carrots :^) |
I would have to say that we had a successful day. Everyone who came had fun and went home with a new creation.
I bought a whole fish from the grocery store yesterday for around $3.00, a Talapia, and will be doing gyotaku with it tomorrow. You never know how people are going to react to a dead fish, so the rubber ones were best for today. Tomorrow is another story, just me and my fish!!
Happy Quilting everyone and keep those needles sharp!! Martha


