This is the finished product of my experimentation with painting quilted feathers!
One of the women in my guild was painting her quilts and using fabric colored pencils on completed quilts. I decided to try it too but I didn't have any colored pencils, just a lot of fabric paints. So this is how I did it!!
I started with a finished small quilt. All the quilting was done as well as the binding and the hanging sleeve attached. The paint I used is called Lumiere which I purchased from Dharma. (I love their products and the company. I purchase my fabric to dye, my dyes and fabric paints from them. Their site is listed here on my blog. They are "Good People"!! :^) Prior to painting, I shook the jar well and used the paint from the lid. I kept the jar covered with aluminum foil and far enough away from me so it didn't get knocked to the floor.
It's important to read the directions that comes with the paint you decide to use to learn how to prepare the fabric before it is painted on and how to set the paint afterwards.
I used two paint brushes, one fine point and one beveled edge. When not using them, I would keep them in a plastic zip-lock to keep them from drying out. When done for the moment or for the day, I washed them well and let them air dry.
I outlined each feather first with the fine point brush.
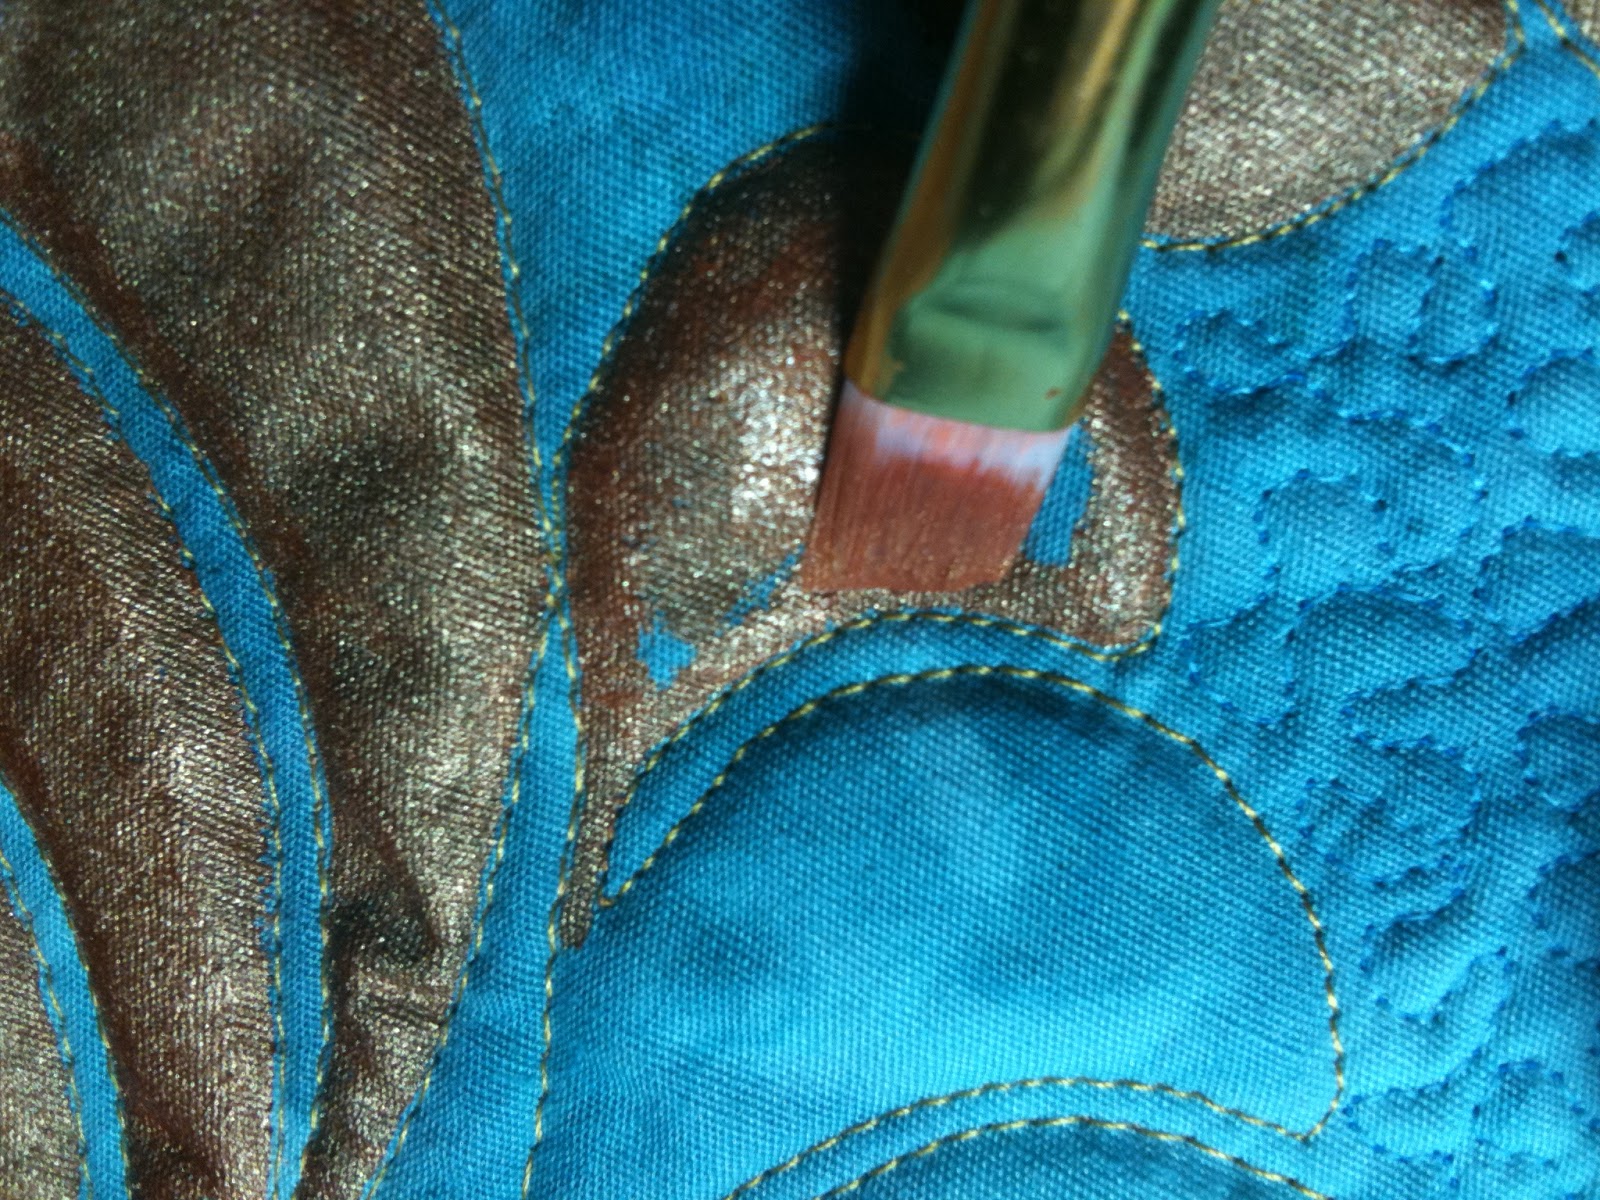
Once the outline was done, I filled in using the beveled edge paint brush.
And again, the finished product! It was fun to do and I will do more!! It gives the quilt a very different look.


Thanks for the instructions!! Looks like fun!!
ReplyDelete